How To Change The Registered Mobile Number or Email ID on The GST Portal
The steps to change the registered mobile number or email address on the GST portal are simple. There can be two ways to change these details, depending on the number of authorised signatories the business entity has.
1. If the authorised signatory is the same person as the partner/promoter:
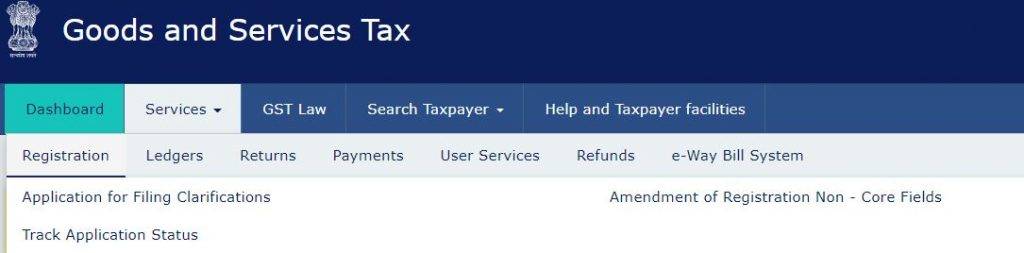
Step 1: Log in to the GST Portal and then go to Services > Registration > Amendment of Registration Non-core Fields.
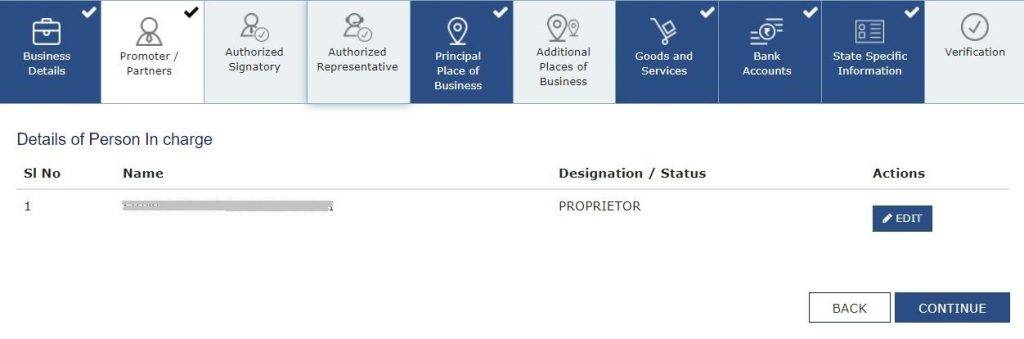
Step 2: Click on the tab ‘Promoter/Partners’. Click on the ‘Edit’ button under ‘Actions’, next to the authorised signatory, whose details you wish to change.
Step 3: Update the mobile number or email address, as applicable. Click on ‘Save’.
Step 4: An OTP will be sent to the mobile number, and email address entered. Enter the OTPs. The changes made will get reflected.
Step 5: Go to the ‘Verification’ tab. After entering the required information, tick the declaration checkbox, and submit the form with DSC/E-signature/EVC.
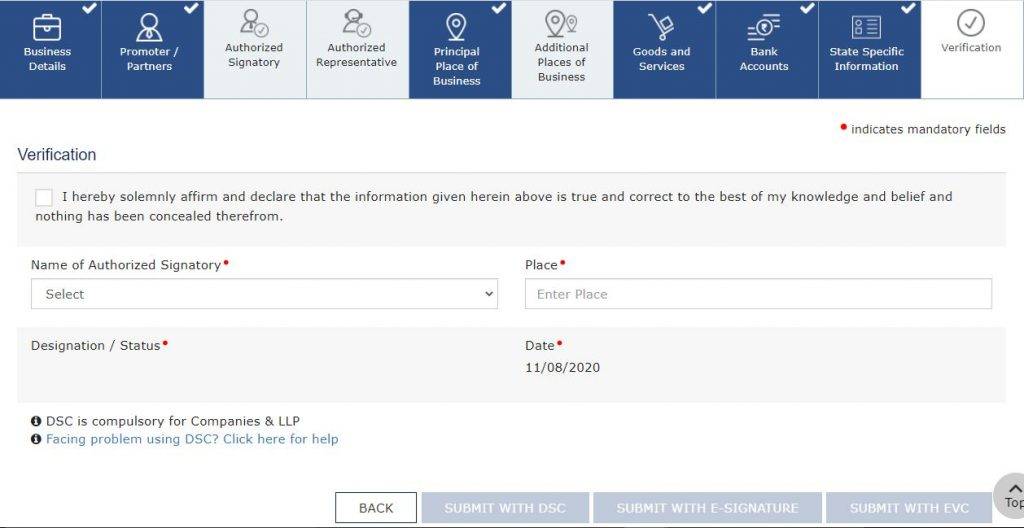
Note: If the EVC mode is selected, the OTP will be sent to the updated mobile number, which will need to be entered to complete the verification process.
Step 6: You will receive a confirmation message with the ARN number to track the status of the application once it is submitted. Once you receive a message saying ‘Changes Approved’, it means that the mobile number and email ID have been updated successfully.
2. If the authorised signatory is different from the promoter/there is more than one authorised signatory:
Step 1: Log in to the GST Portal and then go to Services -> Registration -> Amendment of Registration Non-core Fields.
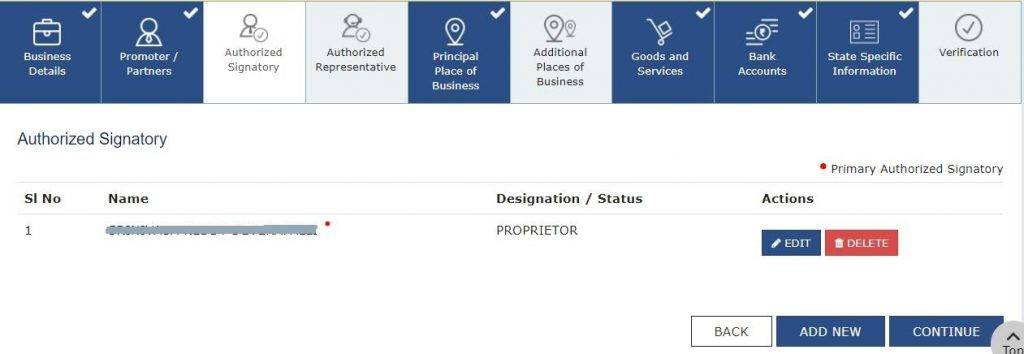
Step 2: Go to the authorised signatory tab. Click on the ‘Add new’ button.
Step 3: Enter the details of the new authorised signatory whose email address and mobile number you wish to use. Now click on ‘Save’.
Step 4: Go to the ‘Verification’ tab. After entering the required information, tick the declaration checkbox, and submit the form with DSC/E-signature/EVC.
Step 5: Wait for 15 minutes, and then log in to the GST portal. Go to Services > Registration > Amendment of Registration Non-core Fields.

Step 6: Go to the ‘Authorised Signatory’ tab, and deselect the previously authorised signatory as the primary authorised signatory.
Step 7: Select new authorised signatory as the primary authorised signatory. Confirm that the mobile number and email address provided are correct. An OTP will be sent to verify the same.
Step 8: Complete the verification process, as explained in step 5.
Step 9: You will receive a confirmation message with the ARN number to track the status of the application once it is submitted. Once you receive a message saying ‘Changes Approved’, it means that the mobile number and email ID have been updated successfully.
You might be interested in:
All You Need To Know About Quarterly Return With Monthly Payment Scheme
TDS Rate Applicable for FY 2021-22 or AY 2022-23
GSTR 9 Annual Return – Who Should Be Filing, Due Date, Late Fees and Penalty
QRMP Scheme v/s Monthly GSTR 3B